Table of Contents
The thought of driving an ATV can be very exhilarating when you first hop on and want to take off. If you have little or no experience riding an ATV, there are many things to look out for and some basic techniques that will make things safer and easier.
There are many techniques to riding an ATV but the basics include how to use handlebar controls, shifting gears, proper stance, riding up and down hills, and turning. More advanced techniques are jumps, wheelies, whoops, small obstacles, and advanced braking/cornering.
Riding an ATV takes a little practice but after a few rides you will have the basics down pat and be blazing trails in no time. Advanced techniques take more practice and are a little more dangerous but if you practice and slowly work up to these techniques, you can use these advanced techniques to venture to places your normal riding wouldn’t take you.
Get Your Gear
First and foremost, get all the proper riding gear you need to safely operate an ATV. Make sure you get a DoT approved helmet for off road vehicles, gloves, goggles, boots, long sleeve shirts, and long pants.
You can check all of these items that I recommend by going to my recommended gear page right here.
ATV Riding Basics
Keep in mind that these techniques are basic but can be useful for anyone and help build the proper foundation for a great ATV riding life.
Handlebar Controls
Learning to use your handlebar controls is the first thing that can be done, and can be done before you even turn on the ignition. The best way to learn these controls is to just hop on and start turning the handlebars left and right.
The Thumb Throttle – On the right handlebar is the thumb throttle. This is used instead of a twist grip on ATVs and provides better control of the throttle while leaned to one side or the other while taking turns. If you want to know why ATVs have thumb throttles, check out this article I wrote.
Brake Lever – The Brake lever is also on the right side of the handle bar and applies the front brakes when squeezed. Be careful with the front brake because applying too much pressure can cause the ATV to flip forward.
Clutch Lever – The clutch lever (if on a manual transmission) is on the left side of the handlebar and works just like a manual transmission car. You have to let off the gas, pull in the clutch, and shift gears.
Foot Controls
Again, using foot controls can be practiced with the ATV turned off but will be used together with the handlebar controls when riding.
Rear Brake – The rear brake is going to be located by your right foot, just in front of the peg. Push downward in order to apply the rear brake.
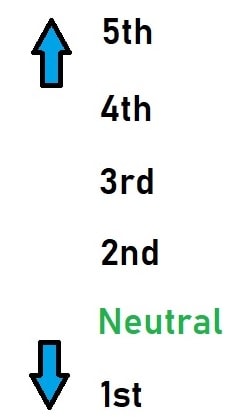
Clutch Lever – The clutch lever is located by your left foot, just in front of the peg your foot sits on. This differs from a car very much. If you push the clutch all the way downward (while pulling in the clutch) you will be in first gear. The chart below shows the positions for each gear.

As you can see, first gear is at the bottom of travel, then you have to use your toe and pull up to go up through neutral to get to second through fifth. Most manual ATVs are configured this way. It takes a bit to get used to this but it eventually becomes second nature.
Proper Stance
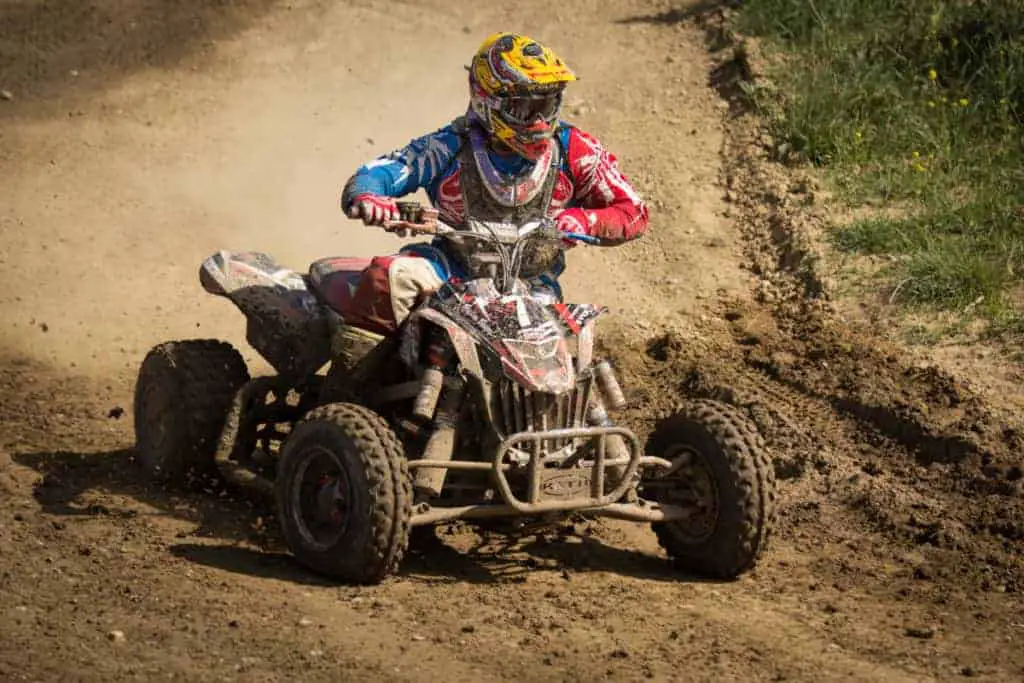
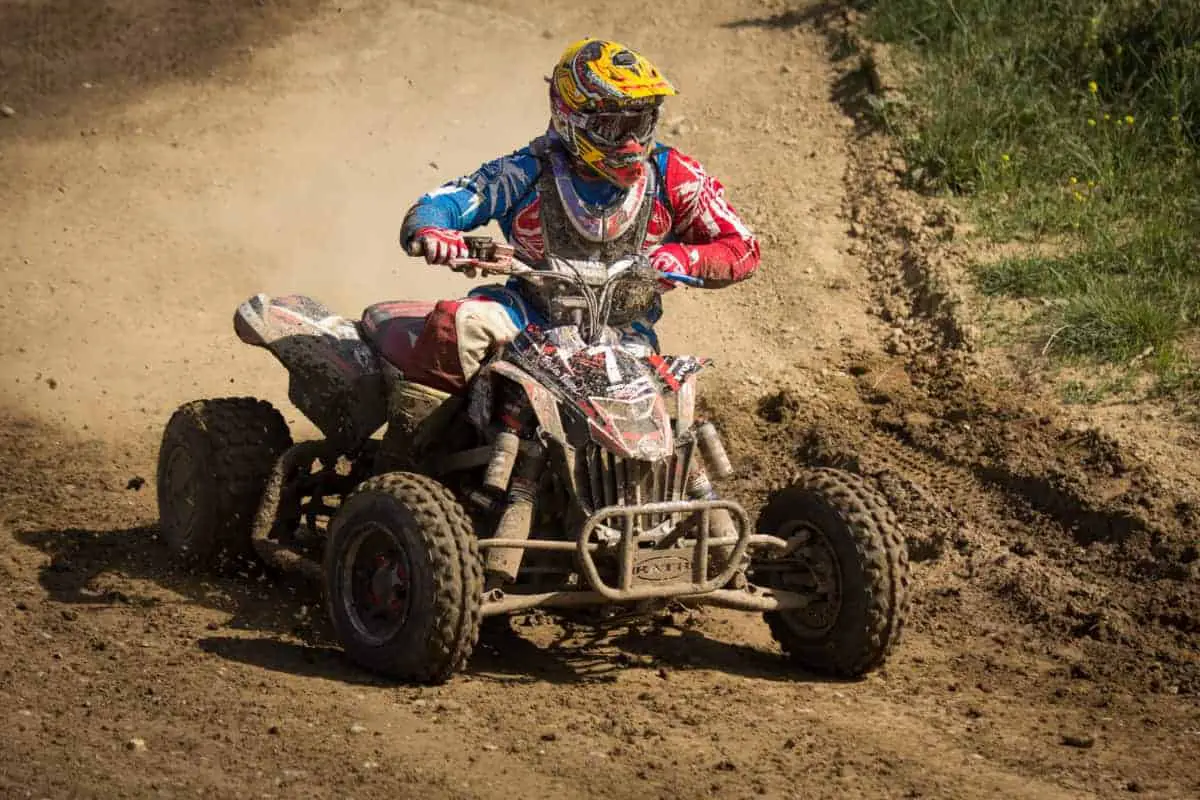
Now that you have the controls down, let’s talk about using the proper stances. For most riders you want to only be sitting when you are riding straight and on a flat surface. ATVs have a high center of gravity and being in a standing position will allow you to react quicker to the ever changing riding conditions. This also lets your arms and legs act as shock absorbers when riding over different terrains.
Riding Up and Down Hills
ATVs have a high center of gravity and that requires you to lean quite a bit in different situations when riding. Going up and down hills is simple. The direction you are riding determines which way you lean.
When riding up hills you will need to lean into the hill. So when you are riding towards a hill and are about to go UP, you need to lean to the front of the ATV. When going uphill your ATV is lighter in the front and will have a tendency to want to lean backwards naturally causing the ATV to flip forward.
When riding down hills, you will want to lean into the hill as well, but you will be leaning back instead. The back is lightened when riding downhill and will cause the ATV to have the tendency to lean forward and flip in that direction.
Turning
Just like riding up and down hills, turning will require you to lean as well. Left turns will require you to lean left, and right turns will require you to lean right. It is as simple as that. If you lean the wrong way, the ATV can tip on its side.

Advanced ATV Techniques
Braking/Cornering (Racing)
When racing you want to maximize the time you spend accelerating and minimize the amount of time you are braking. This takes a lot of practice to get right but when you do, you can be the best on the race track. When entering a corner you want to enter as fast as possible and brake as late as possible. You want to stay back on the ATV and make sure you use both front and rear brakes equally. Don’t jam on the brakes or your wheels will lock up. Once you are through the turn enough, accelerate hard and power through the turn. You will lose less speed and less time if you follow this technique.
Jumps
Let’s talk about jumps on the track. If you have ever ridden a track, you know there are a lot of obstacles, turns, and jumps. When you approach a jump you want to keep the ATV as low as possible. If you take a jump high and fast during a race you will have extra air time. This is time you will not be accelerating and you will lose time. For freestyle or just messing around jumping you want to make sure you can clear the gap and make the jump to the other side. You can stay high in this situation.
Be sure to stay loose when heading into a jump and stay loose as you land. Your arms and legs will act as a suspension when you land and will absorb the impact of the ATV hitting the ground.
Whoops
There are two different kinds of whoops, the ones that are close together, and the more rhythmic whoops that are further apart. Each takes a different method to clear them efficiently.
All you have to do in whoops that are close together is get up some speed, lean way back on the bike keeping the front end light, and skip over the tops of the whoops as fast as you can, letting only the back tires touch. This is a scary notion at first but once you get the hang of it, you will look like a pro shooting past these whoops.
Whoops that are further apart require a little more effort. You need to find a rhythm to these. You may have to do a series of small “jumps” in order to stay rhythmic and keep up good speed. Each of these types of whoop sections are different and it depends on the speed you enter the whoop section. Just practice, practice, PRACTICE!
Small Obstacles
Smaller obstacles like logs can be jumped with a little practice. You don’t want to try this technique on a 4×4 utility ATV but this is perfect for a sport quad. Size up the log and make sure it isn’t too big, around 2 feet in diameter or less. Approach the log straight on and as soon as you get about 8 inches away, pop in the clutch in, rev the engine, and lean back. Your front tires will touch the log and when they do let go of the clutch and give it gas. Your front wheels will pop up as you continue to gas it and you will pop up over the log and be back down before you know it. Just like all these other advanced techniques, this one takes PRACTICE.
Wheelies
Wheelies take a bit of practice to be able to maintain throttle and brake control and ride on two wheels for long distances. I go into detail about this topic in an article I wrote called How to Pop a Wheelie on an ATV.
ATVs are definitely a lot of fun and with these techniques you can start to become a pro at riding them. I have been riding for years and it took a long time to learn the proper ways to do some of these but I practiced as much as I could. I can’t stress enough to everyone who rides ATVs that you NEED to wear the proper gear when riding and when attempting any of these techniques.

