Today, let’s discuss a crucial component of our beloved off-road machines—the battery. Like any part, ATV batteries have a limited lifespan, and there comes a point when it’s necessary to bid them farewell and welcome a new one. But how can you determine when that time has come?
Before you replace your ATV battery, you might want to try and charge the old battery to see if you can drive a little life into it. Sometimes a battery is just dead though, and so its time to replace it.
How do you know when its time to change your ATV battery?
Well, there are several clear indications that it might be time to replace your ATV’s battery. First and foremost, difficulty starting your ATV, particularly after long periods of inactivity, is a prominent sign. If you’re encountering sluggish startup or hearing a repeated clicking sound, it’s a strong indicator that your battery is reaching the end of its service life.
Another important sign is a weakened electrical system. Dimming lights, erratic indicators, and trouble with other electrical components are all signs of declining battery performance. These symptoms should not be ignored, as they are a normal part of the battery’s aging process.
Also, if your electric start becomes increasingly unreliable, it’s a clear indication that the battery may be the culprit. Even the most powerful ATVs require a healthy dose of electrical power to roar to life.
When you start experiencing these signs, it’s prudent to consider replacing your ATV’s battery. Waiting until you’re stranded on a trail or in a remote location is not ideal. Taking a proactive approach to battery replacement will ensure your ATV continues to run smoothly.
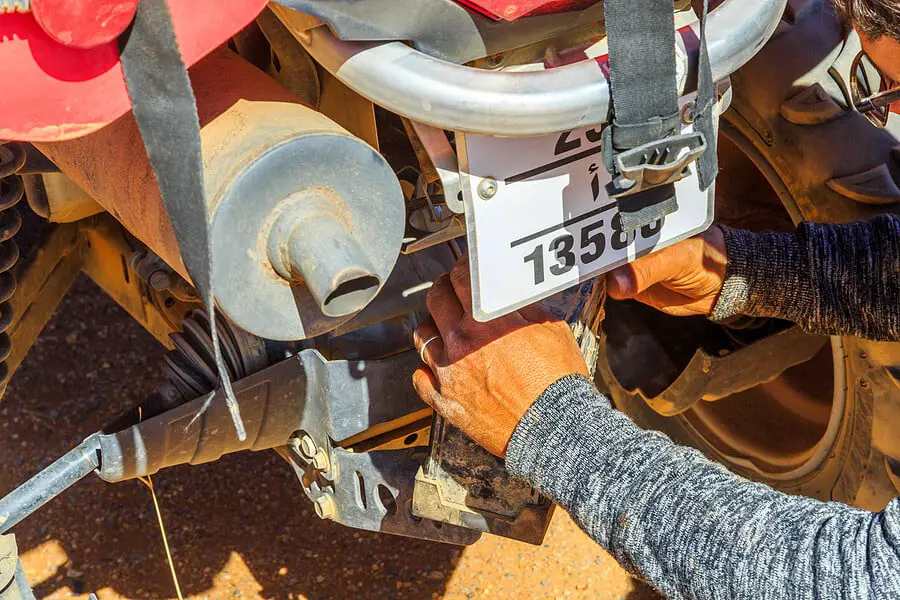
Steps to change the battery in your ATV
Rest assured, my friends, replacing an ATV battery is a manageable task that you can tackle on your own. I’m here to guide you through the process step by step, equipping you with the knowledge to accomplish the battery swap like an experienced rider.
Alright, let’s jump into the steps:
1. Safety first, my friend! Put on those safety goggles and gloves before you dive into the battery replacement process. We want to keep you protected throughout.
2. Find the existing battery. Take a look under the seat or in that compartment on your ATV’s frame. The owner’s manual can be your trusty guide if you’re not quite sure where to find it.
3. Get your new battery ready for action. Make sure it’s the right size, voltage, and capacity for your ATV. We need to match the battery with your vehicle’s requirements, so pay attention to those details.
4. Disconnecting the old battery. Start by disconnecting the negative cable first. You’ll find the negative terminal marked with a minus sign (-) or the letter “N.” Loosen up the nut or screw that holds the cable in place and gently remove it. Do the same for the positive cable, which is usually marked with a plus sign (+) or the letter “P.” Don’t forget to take note of any additional wires or connectors attached to the battery and remove them carefully.
5. Removing the old battery. Depending on how it’s secured, you might need to deal with a hold-down bracket or strap. Unscrew or unbuckle it, releasing the old battery from its confines. Take it out of the compartment with care.
6. Cleaning the battery compartment. Give it a good look for any dirt, debris, or corrosion that may have accumulated. Grab a brush or cloth and give it a nice cleaning. We want a fresh and tidy spot for the new battery.
7. Insert the new battery. Gently place it into the compartment, ensuring it fits nice and snug. Pay attention to the orientation, making sure the positive and negative terminals match up with the corresponding cables.
8. Reconnect those cables. Start with the positive cable. Slide it onto the positive terminal and tighten up the nut or screw to keep it secure. Then, connect the negative cable to the negative terminal, making sure it’s tightly fastened. Give each cable a little wiggle to ensure they’re snug and good to go.
9. Secure the new battery. If your ATV has a hold-down bracket or strap, it’s time to put it back in action. Secure it in place, but don’t go overboard with the tightness. We want it snug, not too tight, as we don’t want to damage the battery.
10. Test it out. Turn on your ATV to check if everything’s running smoothly. Take a peek at the lights, indicators, and other electrical components to ensure they’re functioning just as they should.
That’s a wrap! You’ve successfully replaced your ATV battery. Now, remember to dispose of the old battery responsibly by taking it to a designated recycling facility. If you need any more help or have further questions, don’t hesitate to ask. Happy riding!